Floor soundproofing is one of the most effective ways to improve acoustic comfort in multi-level homes, apartments, and office buildings. While traditional soundproofing focuses on airborne noise like voices or music, floors primarily transmit impact noise—the sound of footsteps, dropped objects, or furniture movement. This type of noise travels through the structure as vibration and can easily disrupt daily life.
Most floor assemblies—especially in older buildings—lack the resilient materials needed to stop these vibrations. The result? Creaky floors, loud footsteps, and unwanted noise between levels. Fortunately, modern materials like acoustic underlayments make floor soundproofing more accessible and effective than ever.
In this article, we’ll explain how sound travels through floors, introduce you to key soundproofing principles and materials, and walk you through installation techniques that deliver lasting results.
How Sound Travels Through Floors
Sound travels through floors primarily as impact noise—the vibration created when something hits or moves across the floor surface. A footstep, a dropped item, or shifting furniture—all create vibrations that turn into mechanical waves, traveling through the floor assembly and into the space below.
To understand this, think about the construction of a typical two-story home. On the main level, the floor often sits atop a thick concrete slab, which rests on the earth. On the upper floor, though, it’s a different story. The flooring structure typically consists of lighter materials like plywood, wooden joists, drywall ceilings below, and a finish flooring layer on top. These materials don’t have the mass or resilience to absorb vibrations effectively, allowing sound to pass through more easily.
This is why you can often hear footsteps or door slams from an upper floor, but not from the ground level. The goal of soundproofing between floors is to interrupt these sound waves before they move through the full floor assembly. That means incorporating resilient, sound-absorbing materials that dampen the energy of those mechanical waves—basically stopping the noise before it reaches the space below.
How to Soundproof Floors: Decoupling
One of the most effective strategies in floor soundproofing is called decoupling. The idea is simple: instead of allowing sound vibrations to travel directly from one part of the floor assembly to the next, we interrupt that path using resilient soundproofing materials that absorb the energy.
Think of it like this—imagine five pool balls lined up in a row, all touching. If you tap the first ball, the energy travels through the line and sends the last ball rolling. But if you insert a small gap between two of the balls, the energy weakens and stops before it can reach the end. That gap has decoupled the connection.
In flooring, we can’t leave open air gaps, but we use specialized underlayments to create that same effect. These materials provide both separation and resilience, soaking up impact energy and reducing the amount of sound that passes through to the space below.
By decoupling a floor, we allow vibrations to “die off” before they transfer into the subfloor or joists, which is important in preventing impact noise. And best of all, many decoupling solutions are easy to incorporate in both new builds and renovation projects.
The Ideal Soundproofing Material: Iso-Step® Soundproofing Underlayment

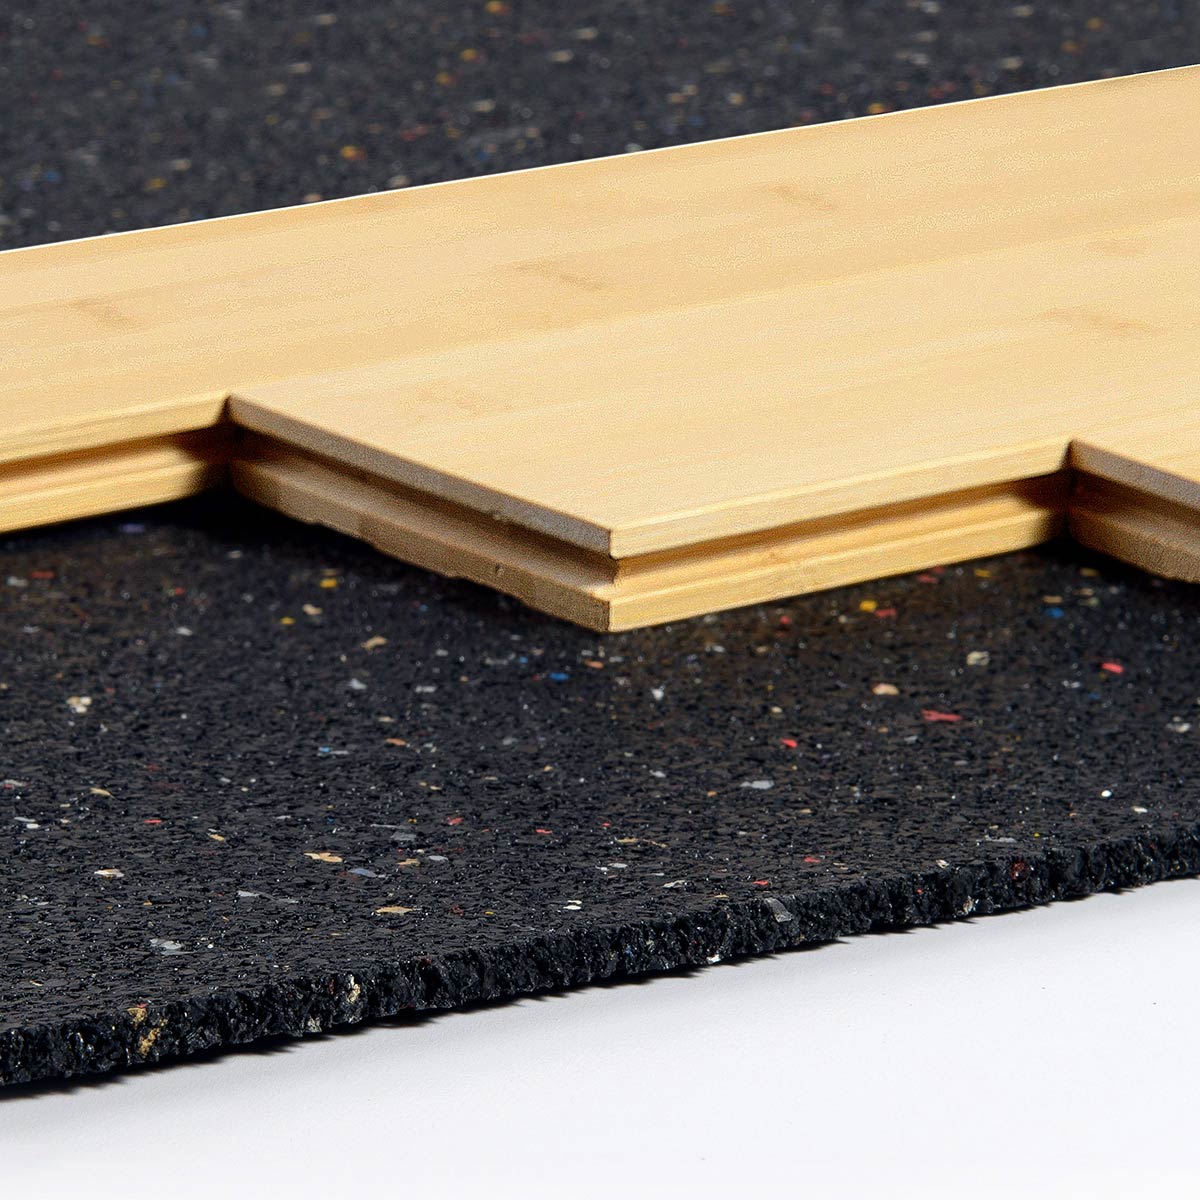
Iso-Step® Floor Underlayment
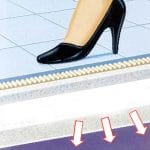
For reducing impact noise and increasing acoustic comfort, we recommend Iso-Step® Soundproofing Underlayment. It’s one of the most effective materials for soundproofing between floors, improving both Impact Insulation Class (IIC) and Sound Transmission Class (STC) ratings.
This dense, resilient material installs beneath your flooring and absorbs the vibrations caused by footsteps, dropped objects, and other forms of impact. It works with a wide variety of surfaces including wood, concrete, carpet, vinyl, and tile, making it a versatile choice for almost any floor soundproofing project.
How to Install Iso-Step® Soundproofing Underlayment
Necessary Tools
- Tape measure

- Metal straight edge
- White marker, chalk or chalk line
- Utility knife
- Duct tape (optional)
- Adhesive if required
- Other tools may be required to install subsequent layers of flooring materials

General Preparation
Let Iso-Step® and your flooring acclimate in the room for at least 48 hours at 65°F or higher. Before starting your installation of Iso-Step®, make sure the subfloor is permanently dry and free of dirt, dust, grease, and other foreign matter.
For Wood Subfloors
Start by verifying that your wood subfloor is made from quality-grade plywood. Next, inspect the surface for any imperfections—pound down any loose nails, flatten protrusions, and fill gaps or cracks to create a level, stable foundation. Once the surface is smooth and clean, you’re ready to roll out Iso-Step® underlayment and proceed with the appropriate flooring installation method for your project.
For Concrete Subfloors
Inspect the concrete subfloor and fill any visible cracks using a high-grade epoxy filler. Once cured, ensure the entire surface is level, smooth, and free from debris.
If moisture is a concern, especially in basements or ground-level installations, apply a polyethylene vapor barrier across the entire floor, overlapping and taping the seams securely.
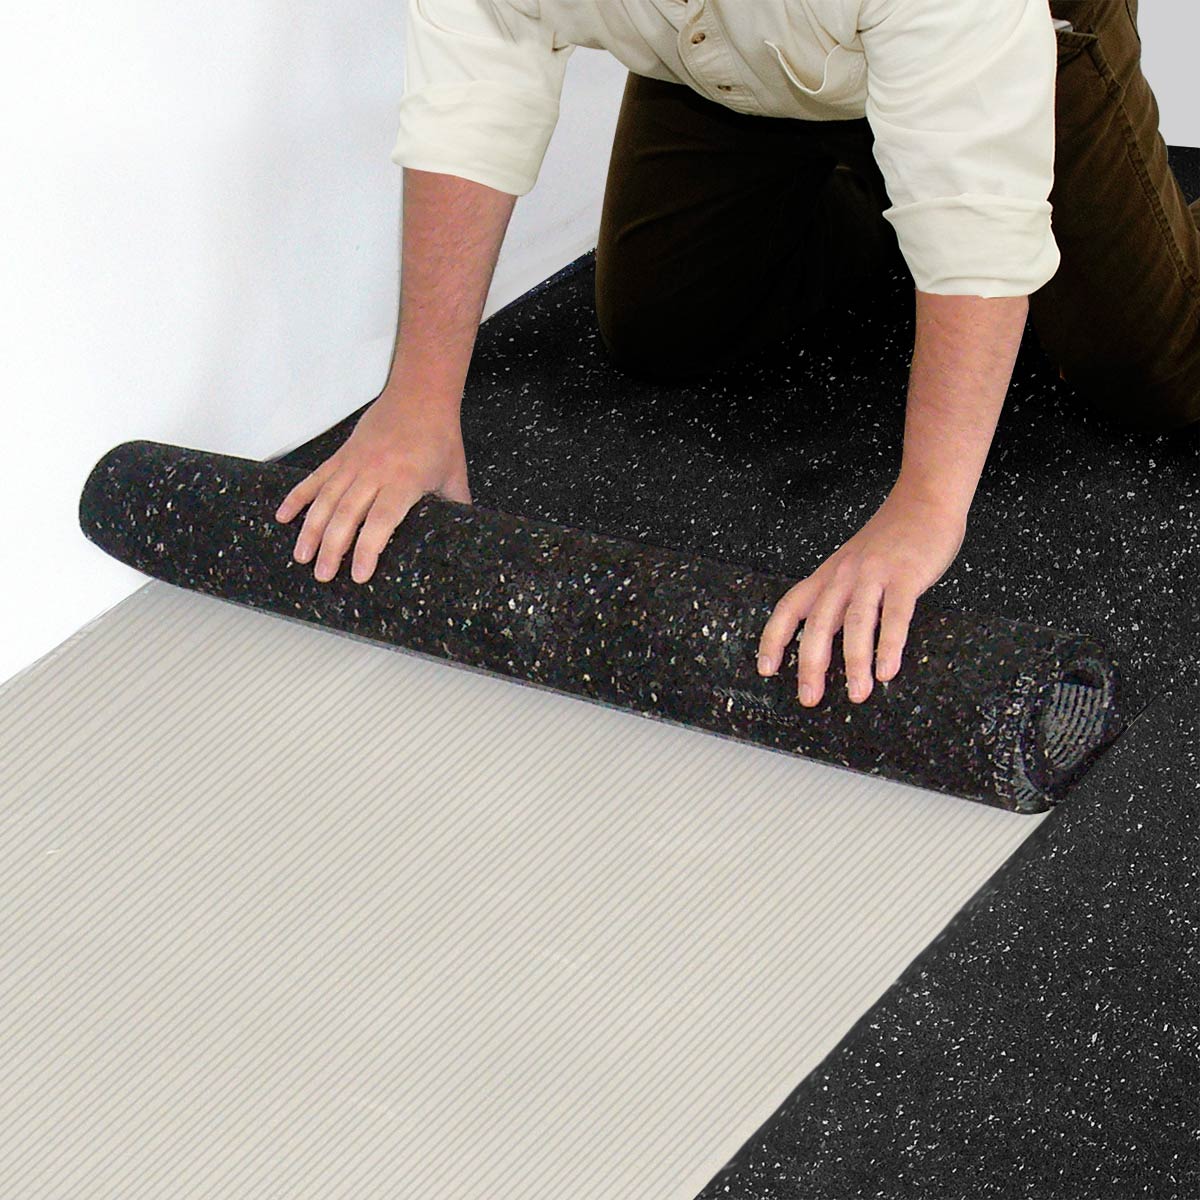
Once the surface is prepped, unroll Iso-Step® underlayment directly over the concrete (or over the vapor barrier if used), ensuring the seams are tightly aligned for even coverage.
Installing Iso-Step® with Different Flooring Types
Different flooring types require different installation approaches. The next sections outline how to install Iso-Step® under a variety of materials to ensure optimal performance.
Floating Floor Systems: Ideal for Soundproofing
Floating floors—those not nailed or glued directly to the subfloor—are perfect for use with Iso-Step®. Here’s how to install:
- Place perimeter isolation strips around the room.
- Roll out Iso-Step® underlayment over the subfloor.
- Install flooring per manufacturer guidelines. Engineered wood, tile, laminate, or LVT all work well.
Tip: If gluing hardwood to the underlayment, also glue Iso-Step® to the subfloor for better adhesion and acoustic performance.
Under Tile
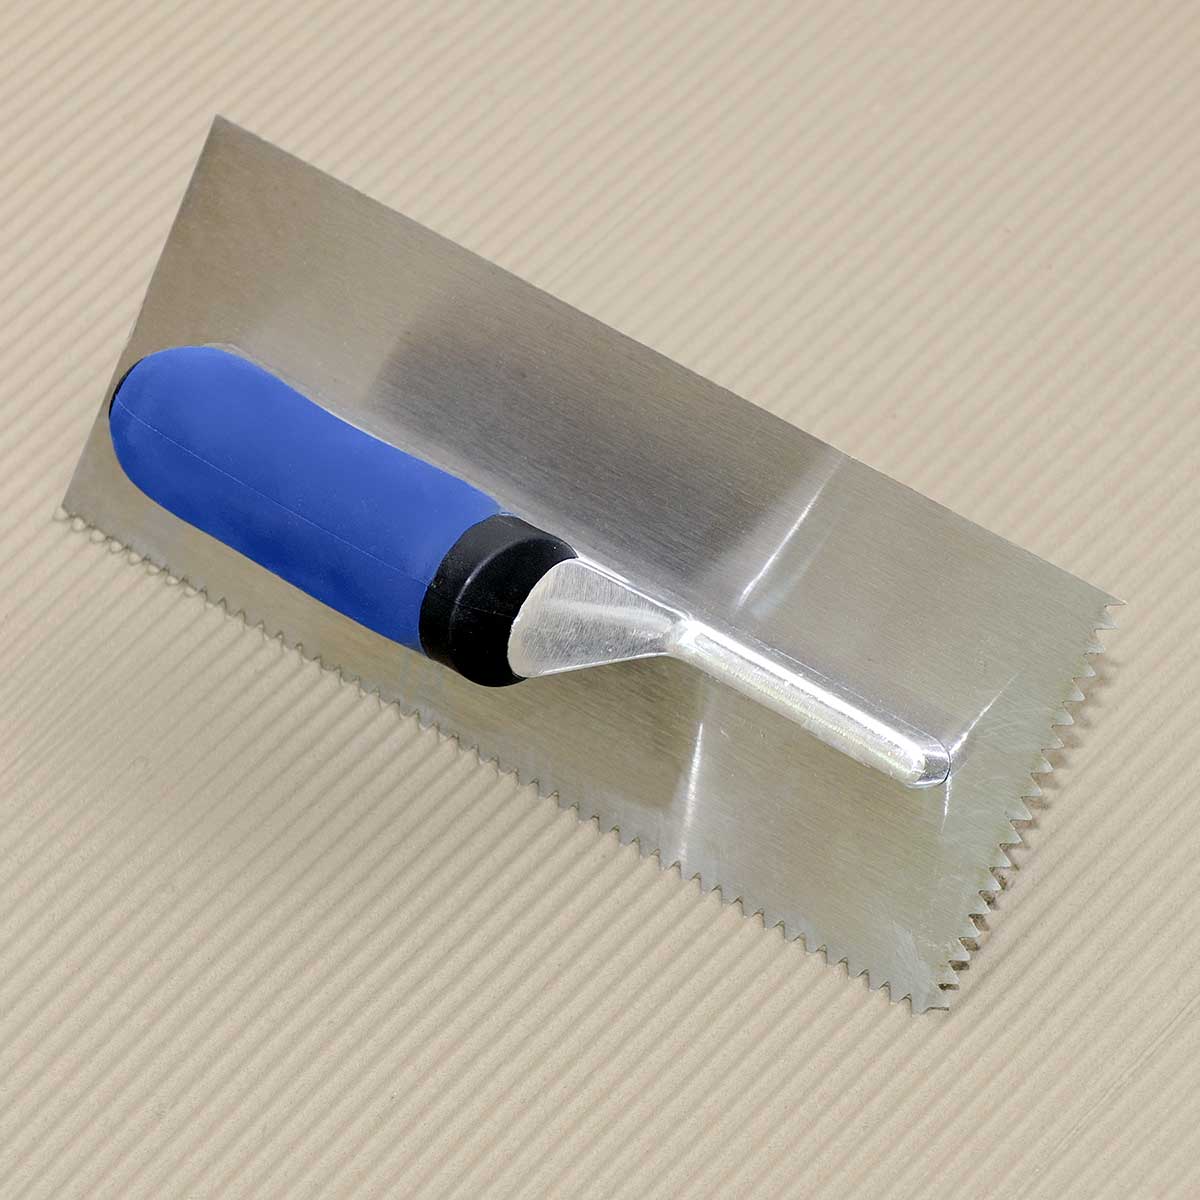
After installing a perimeter isolation strip, apply approved adhesive to the sub-floor using recommended trowel size.
Roll out and lay the Iso-Step® into the adhesive bond.
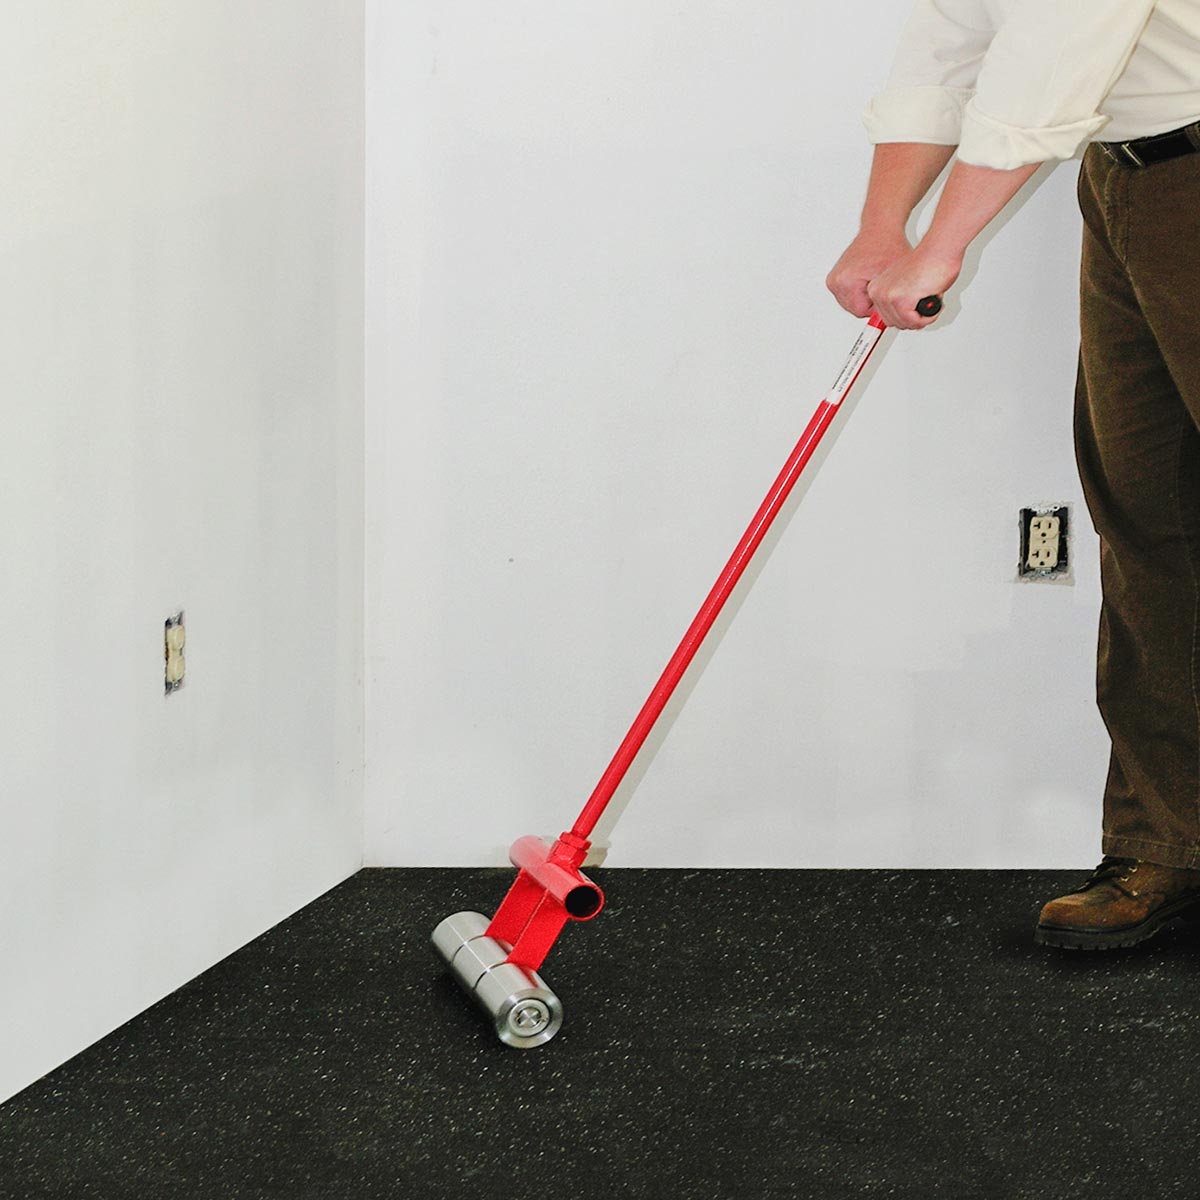
Roll the Iso-Step® with an approved flooring roller.

Apply adhesive to the Iso-Step® using recommended trowel size.
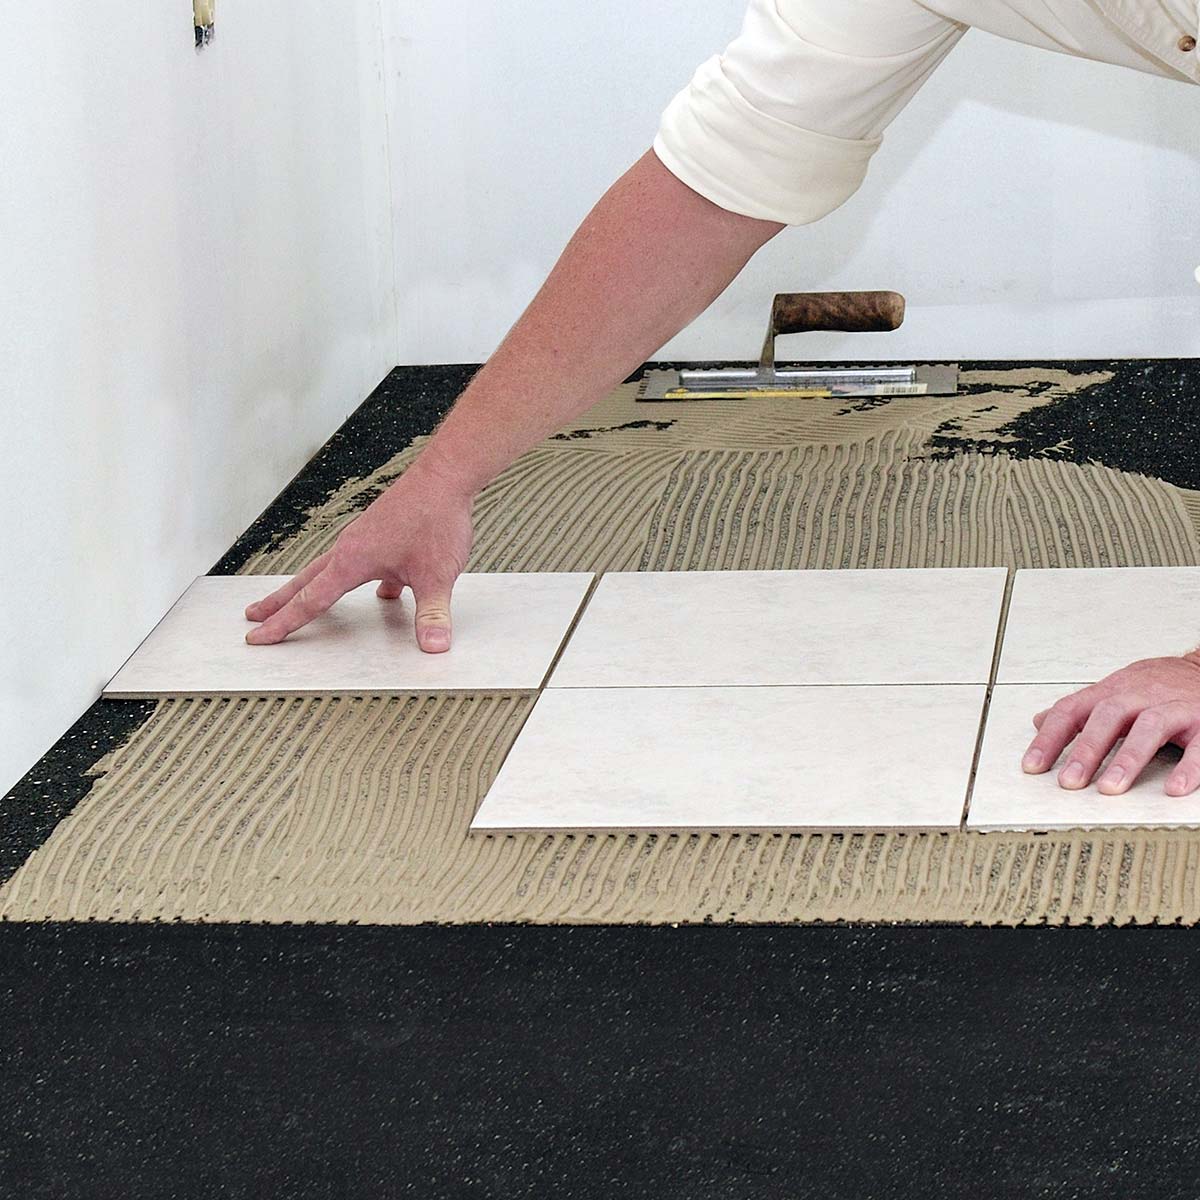
Lay finish floor layer according to flooring manufacturer’s guidelines.
Nail Down Hardwood Flooring
IMPORTANT: Do not nail through Iso-Step® Soundproofing Underlayment!
Installation of solid nail-down hardwood flooring using a raft method: Install Iso-Step® from wall to wall — loose lay; lay ½” plywood on top leaving a ½” expansion/acoustic gap around all walls. Install a second ½” layer of plywood making sure to stagger the bottom seam from the top, glue and brad nail the top plywood to the bottom plywood.
The plywood floats on top of the underlayment. You can fasten the nail-down hardwood into the plywood raft. Leave the expansion gap alone or fill it with acoustical caulk, and install baseboard slightly off the finished floor.

Cross-Section of Hardwood Floor Assembly
Soundproof Your Floors the Right Way with Acoustical Solutions
Soundproofing your floors is an extremely satisfying renovation and it doesn’t have to be a great challenge. The results, especially when impact noise is an annoyance, is well worth a bit of renovation, thanks to exceptional modern soundproofing materials and products.
Give me a call today and we can discuss your specific situation and craft a plan to acoustically improve your floor with the best techniques and materials available.
To learn more about how Acoustical Solutions can solve your noise control problems, use our contact form, call one of our Acoustical Sales Consultants at (800) 782-5742, or visit us on the web at acousticalsolutions.com.