Even with the advent of the internet, “radio” isn’t going anywhere! The music scene is bigger than it’s ever been before with new genres, more listeners, and a host of new artists, partly due to modern access to professional at-home recording equipment and internet platforms for sharing. If that weren’t enough, the meteoric rise of podcasting has invigorated talk radio and exposed the public’s insatiable appetite for all manner of discussion.
Food Network’s Ace of Cakes host Duff Goldman in the completed man cave, as seen on DIY Network’s Man Caves.
This is evident when customers call looking to soundproof a new studio or as part of a renovation. They are excited to proclaim that the once ominous prophecy “video killed the radio star” couldn’t be further from the truth! Not only has the internet not sent radio packing, it has opened up new technological avenues for radio to continue strongly into the future, and radio studios along with it. With so much great technology and distribution methods in hand, radio studio producers call me asking to help make sure the fundamental aspect of radio broadcasts can be achieved: proper soundproofing.
The good news I share with them is that soundproofing materials and techniques have grown alongside the rest of modern technology to offer powerful, affordable, and readily-installed systems that will perfect their space sonically and provide the essential acoustics necessary for a professional radio broadcast. In this article, I detail my favorite methods and materials for properly soundproofing a radio studio.
What is Soundproofing?
If you call radio your profession, you probably know what soundproofing is. For audio enthusiasts and producers, it’s well understood how severely poor acoustics can negatively affect a broadcast or production. It can easily be the reason why someone chooses to keep listening or find something else! Soundproofing is the foundation from which your new or revitalized radio venture will achieve a professional sound, so I find it’s worth explaining one more time.
Radio studio soundproofing, or sound blocking, is how we make sure that unwanted noise from outside the radio studio doesn’t penetrate and, thus, interfere with the production happening inside. Likewise, if your radio studio plans involve booths or multiple studios, you don’t want sounds from inside one creeping through the walls to invade another.
We achieve complete radio studio soundproofing by blocking all possible exit paths for sound— everything! Windows, doors, walls, ceilings, and floors, depending on your circumstance, all places need to be treated appropriately, as sound can penetrate even small entry points and cause a big issue.
How to Soundproof a Radio Studio
As mentioned, to properly soundproof a radio studio, we need to address all aspects of the physical room:
Soundproofing Floors
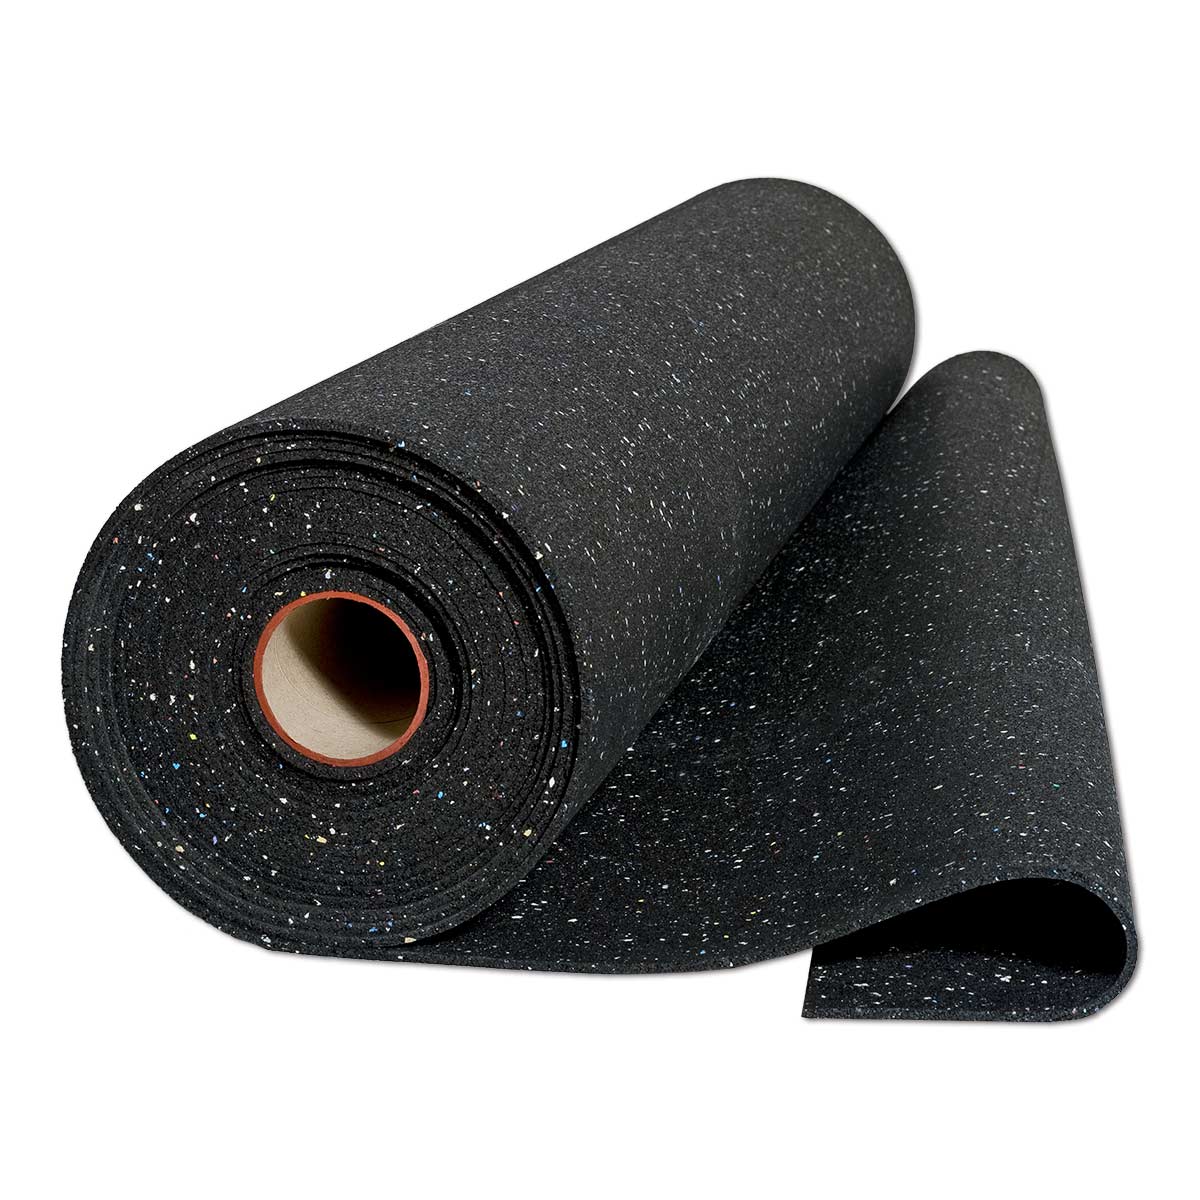
Iso-Step® Floor Underlayment
Floors are interesting in that they obviously need to be sturdy because they carry us as well as the weight of furniture, equipment, and everything else in the room! Because of that, you may find that your floors are somewhat soundproof already. If your radio studio is in a larger building, chances are higher that the building is built with concrete, meaning that sounds from below if you’re not on the bottom floor will be well-blocked.
That said, the main point when it comes to flooring and soundproofing is eliminating the sound of footfalls for your neighbors below. This is also dependent on the flooring type – some are louder than others when walked upon.
To solve this, we look to Iso-Step® Soundproofing Underlayment. This soundproofing material installs underneath your flooring, over the subfloor, and effectively eliminates footfall noise as well as any vibrations that may occur in the floor assembly.
Soundproofing Walls
AudioSeal® Mass Loaded Vinyl Sound Barrier
Unlike floors, wall assemblies are typically much “thinner” because of the materials utilized, signifying the need for soundproofing treatment. Walls can certainly be load-bearing structures, but even if that is the case, the space between the studs – metal or wood – is covered with drywall, a poor soundproofing material.
To soundproof walls, I suggest the combination of these three materials:
- AudioSeal® Mass Loaded Vinyl (MLV) Soundproofing Barrier
- Resilient Sound Isolation Clip (RSIC-1)
- Green Glue Noiseproofing Compound
The combination will achieve excellence in radio studio soundproofing and provide the bulk of your soundproofing needs. If your ceilings are also drywalled, then the same combination can be utilized as if it were a wall. (Below we will discuss drop ceiling soundproofing options).

AlphaSorb® Barrier Acoustic Panels
The only real drawback to this method is that it is invasive – the current drywall will need to be removed and replaced after the three soundproofing materials are installed. This might be expensive as it requires additional materials, labor costs, and time. Many find it’s worth it in the end, but if you’d like to soundproof on a budget and/or get your radio studio up quickly, AlphaSorb® Barrier Acoustic Panels are a great option. Note that this product is a combination of sound absorption and soundproofing materials, and to achieve the latter, you will need to cover the entire wall and ceiling to achieve that effect. This is a convenient solution that will save you from the time and costs of renovations, and may be your only solution if renovations aren’t possible in a rented space.
Soundproofing Ceilings

PrivacyShield® Ceiling Tile Barrier 2’x4′
As mentioned, the AudioSeal® Mass Loaded Vinyl (MLV) Soundproofing Barrier, Resilient Sound Isolation Clip (RSIC-1), and Green Glue Noiseproofing Compound combination is the ideal solution for soundproofing ceilings as well as walls if the ceilings are also made of drywall. The types of spaces typically in need of radio studio soundproofing tends to be drop ceilings, so let’s take a deeper look here.
Drop ceiling soundproofing is very effective and less invasive, so feel good about your ceiling tiles! To soundproof, I suggest employing a combination of PrivacyShield® Light Hoods and PrivacyShield® Ceiling Tile Barriers. The hoods easily slide over the drop ceiling lighting tiles while the barriers are dropped in right above the ceiling tiles. Easy and effective!
Soundproofing Doors and Windows

Soundproofing a window is easy with PrivacyShield
If you’ve properly soundproofed all of the walls, ceiling, and floor, you may think a small window and a door won’t let much sound in, but you would be surprised. Typically, radio studios don’t often have windows to the exterior, although they may have one that separates the booths. Either way, I suggest applying our PrivacyShield® Window Seal Kit to quickly soundproof any window you may have.
When it comes to doors, you have two options: replace the entire door with a soundproofed door or refit yours with our PrivacyShield® Soundproofing Door Seal Kit. As far as door replacements, we offer both wood and metal doors for your aesthetic choices.
Find the Best Soundproofing Solutions for Your Radio Studio with Acoustical Solutions
With the above materials and strategies, you’ll be able to soundproof any room properly into your radio studio. All rooms are different and made of different materials, which is why we offer a range of soundproofing products to meet any need. Whether you’re turning a basement into a radio studio, creating a new building, or renovating a previous space, it’s important to think about soundproofing early on and plan appropriately.
Give me a call today and we can discuss your radio studio soundproofing situation, and we can plan the perfect soundproofing strategy together for your unique installation needs.
To learn more about how Acoustical Solutions can solve your noise control problems, use our contact form, call one of our Acoustical Sales Consultants at (800) 782-5742, or visit us on the web at acousticalsolutions.com.