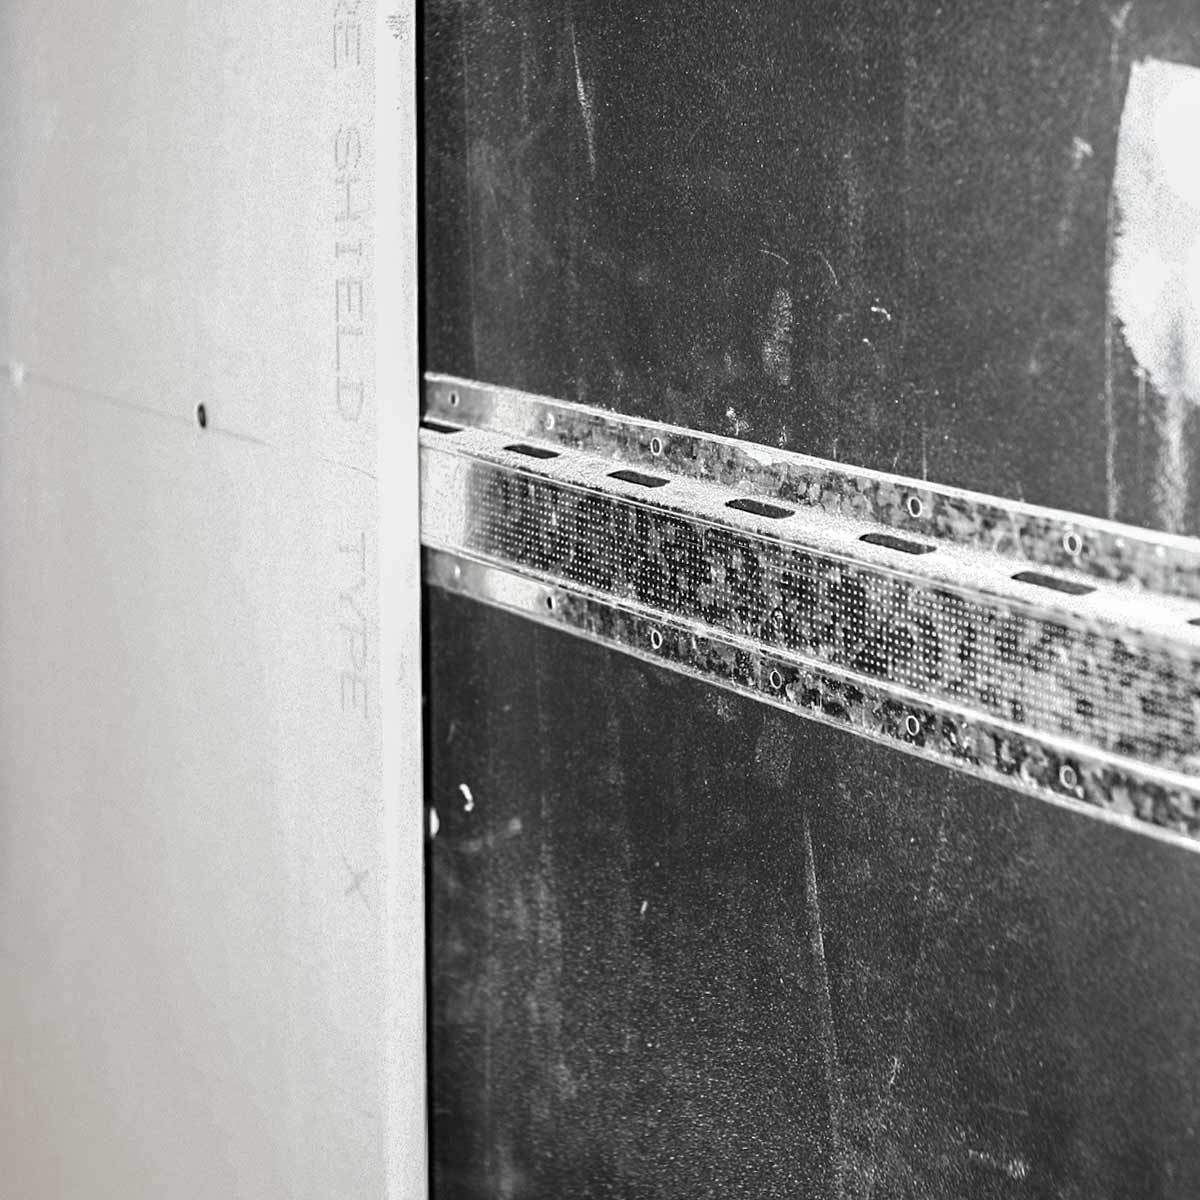
Soundproofing a Garage — Layer of mass loaded vinyl, double leg resilient hat channel and a layer of drywall.
Garages aren’t just for cars anymore. Many people use their garages as home offices, studios, or workshops where soundproofing is essential. Whether you’re a musician needing a practice space, a woodworker tired of complaints about noisy equipment, or a fitness enthusiast creating a home gym, soundproofing a garage can transform your space into a quieter, more functional area.
In this guide, we’ll walk you through how to soundproof a garage and explore effective garage soundproofing techniques that keep noise from disturbing neighbors or other household members.
Why Soundproofing a Garage Matters
Garages often amplify noise due to their hard surfaces and lack of insulation. Without proper soundproofing, activities like band practice, loud machinery, or even hosting gatherings can lead to excessive sound transmission. Soundproofing your garage ensures:
- Reduced noise transmission to neighboring homes or rooms.
- Improved acoustics for music practice or recording.
- Enhanced comfort for any activity that requires focus and minimal distractions.
How to Soundproof a Garage: Step-by-Step
1. Soundproof the Garage Door
Garage doors are one of the largest openings in your space, making them a significant source of sound leakage.
- Seal Gaps and Cracks: Use a weatherproof seal along the edges to prevent sound from escaping.
- Install Acoustic Blankets: Cover the door with PrivacyShield® Sound Blankets to absorb and block sound. These blankets are easy to attach and provide excellent soundproofing without permanent modifications.
- Add Mass: Consider attaching AudioSeal® Mass Loaded Vinyl (MLV) to the door’s interior. This heavy, flexible material helps block sound transmission effectively.
2. Treat Garage Walls
The walls of most garages are thin and lack insulation, making soundproofing a must.
- Install Soundproof Drywall: Double-layered drywall with a sound-damping compound like Green Glue sandwiched between is a popular choice for reducing sound transfer.
- Use Acoustic Panels: Add AlphaSorb® Acoustic Panels to absorb sound inside the garage and reduce echo. These panels are available in customizable colors and sizes to match your space.
- Insulate the Walls: If your garage walls are unfinished, fill them with dense insulation like rockwool to absorb airborne noise.
3. Soundproof the Ceiling
If there’s living space above your garage, soundproofing the ceiling is important to minimize noise transfer.
- Install Ceiling Panels: Use AlphaSorb® Fabric-Wrapped Acoustic Ceiling Panels for effective sound absorption.
- Add Insulation: Install fiberglass or rockwool insulation between ceiling joists to dampen sound.
- Decouple the Ceiling: Use resilient channels to separate the drywall from the ceiling structure, reducing vibrations and sound transfer.
4. Address the Garage Floor
Floors often amplify impact noise, especially if you’re using heavy equipment or exercising.
- Lay Acoustic Underlayment: Install Iso-Step® Floor Underlayment beneath flooring to dampen vibrations and reduce impact noise.
- Add Rubber Mats: For quick results, use rubber mats or interlocking tiles to reduce noise and absorb impact in workout spaces.
5. Seal Doors and Windows
Small gaps around doors and windows can allow sound to escape.
- Install Door Seals: Add an Acoustic Door Seal Kit around the garage’s entry door to block noise.
- Soundproof Windows: Use AudioSeal® Window Deal Kit or install a second layer of acoustic glass for maximum sound reduction.
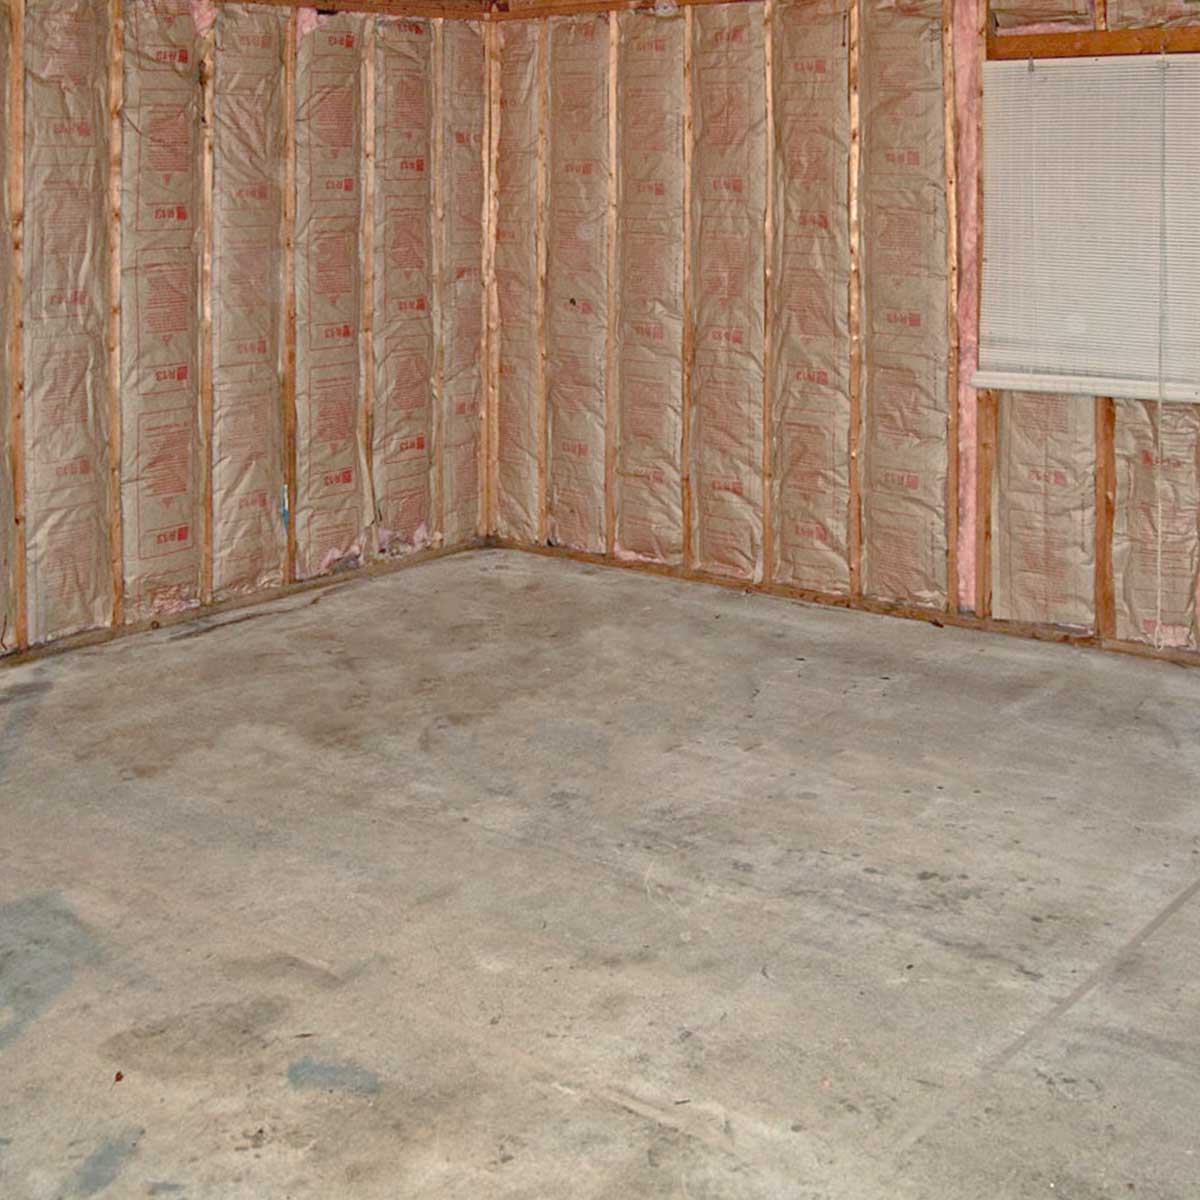
Soundproofing a Garage — Be sure to insulate the structure of the building. This will help the overall STC rating of the structure.
Soundproofing a Garage — Insulate any seams and gaps that will allow air to pass. If air can pass, so can sound.
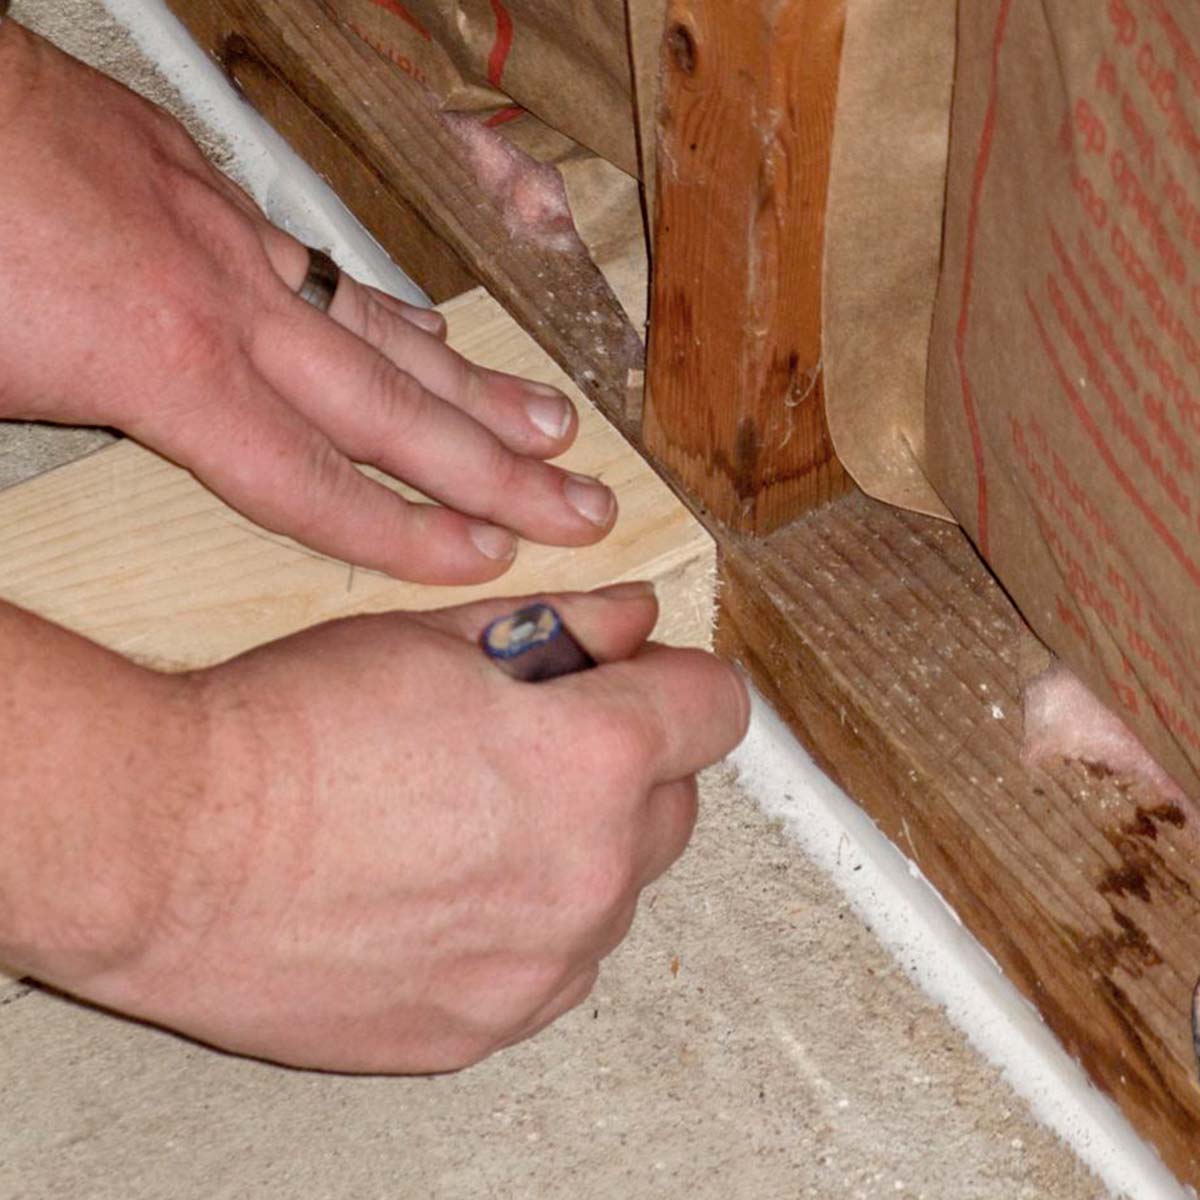
Soundproofing a Garage — Tip: It is helpful to mark stud locations on the floor. This will be handy later when installing resilient channel or drywall.
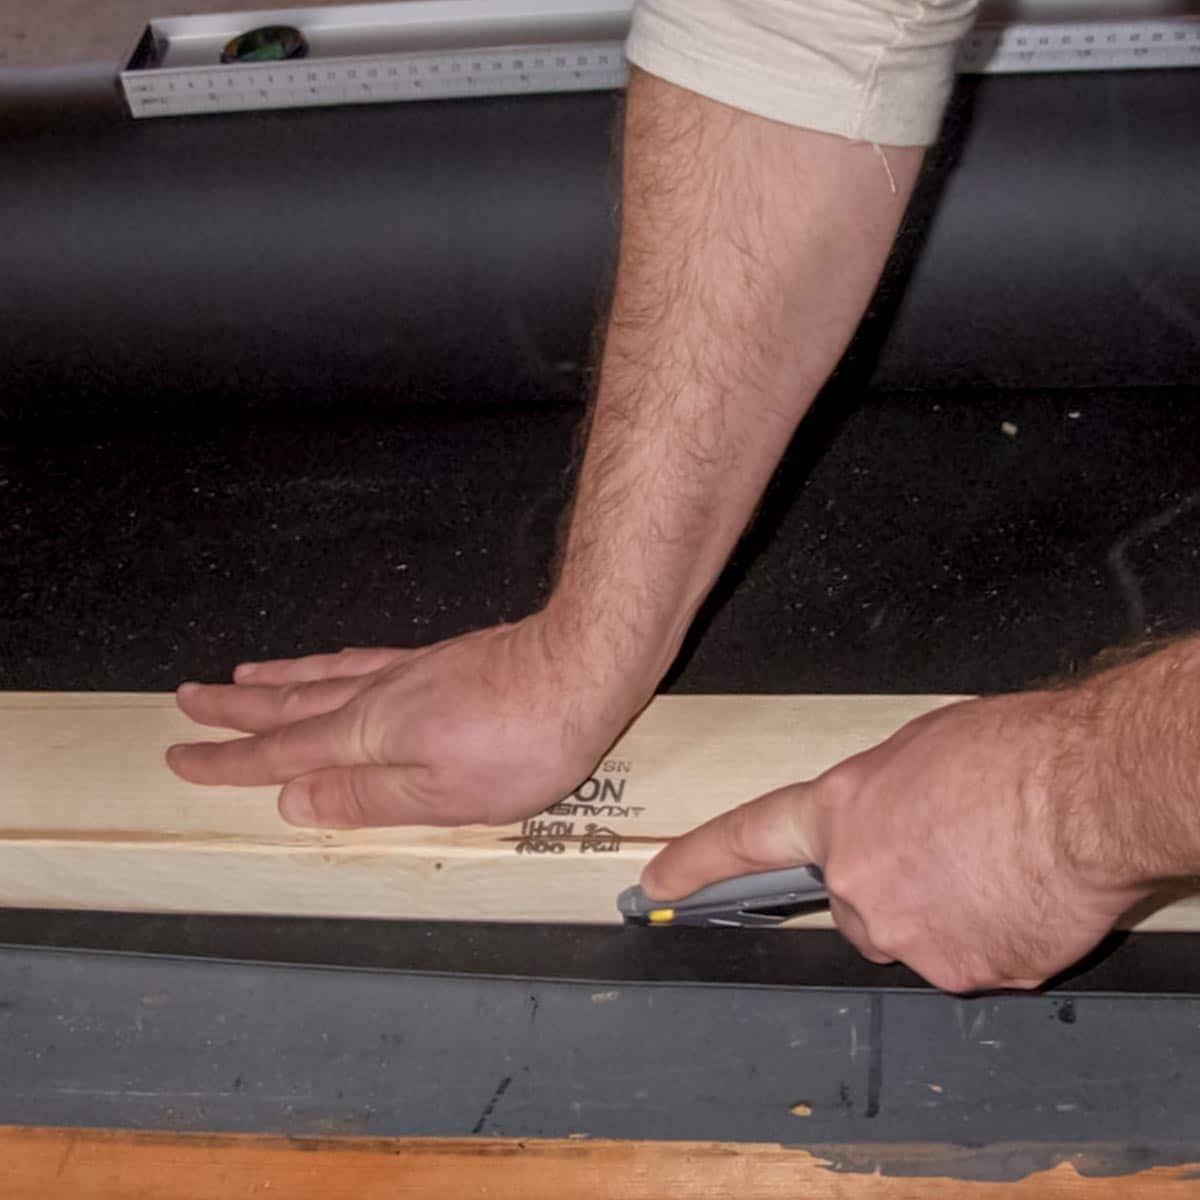
Soundproofing a Garage — Use a straight edge and utility knife to cut the barrier to the size you need.
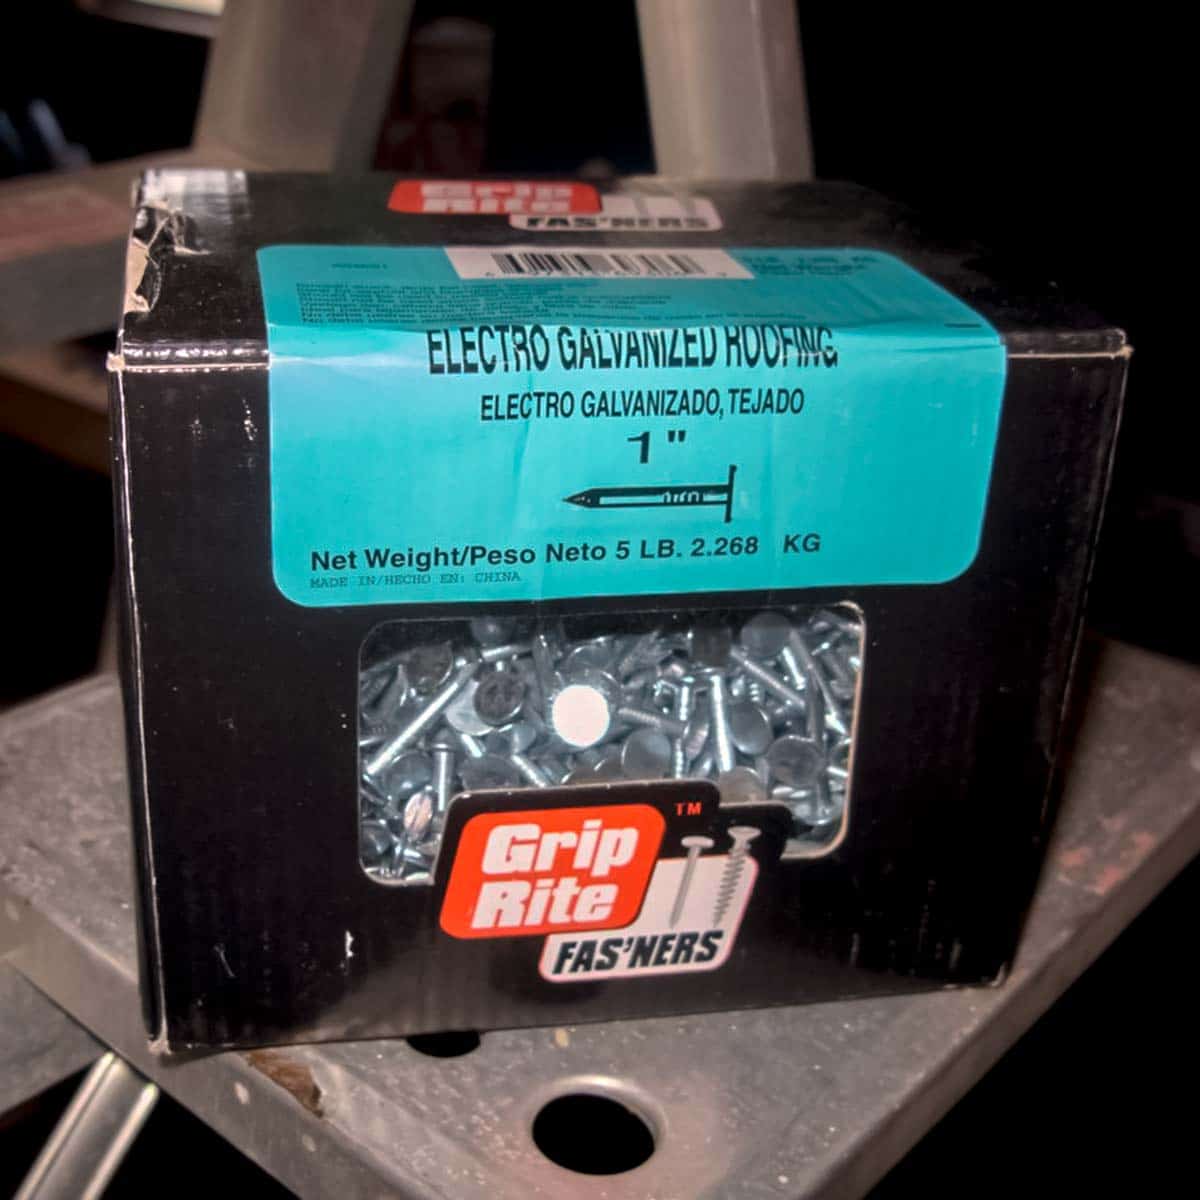
Soundproofing a Garage — Large head roofing nails were used to attach and hold the barrier to the studs. They provide more surface area for hold as well as covering the penetration made by the nail.

Soundproofing a Garage — Second layer of MLV Sound Barrier going up.
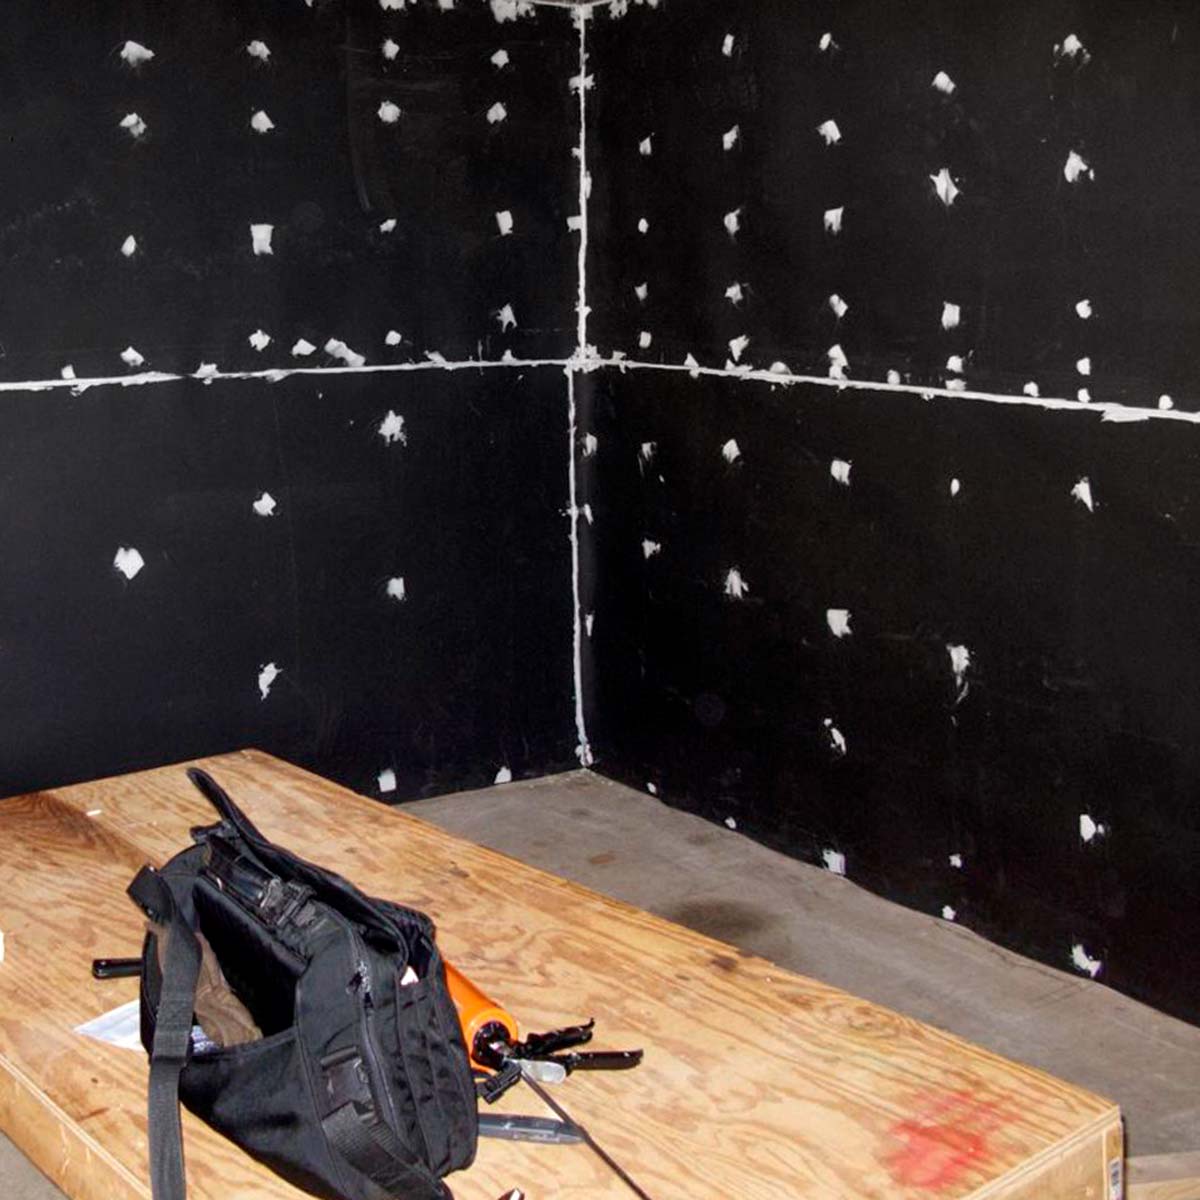
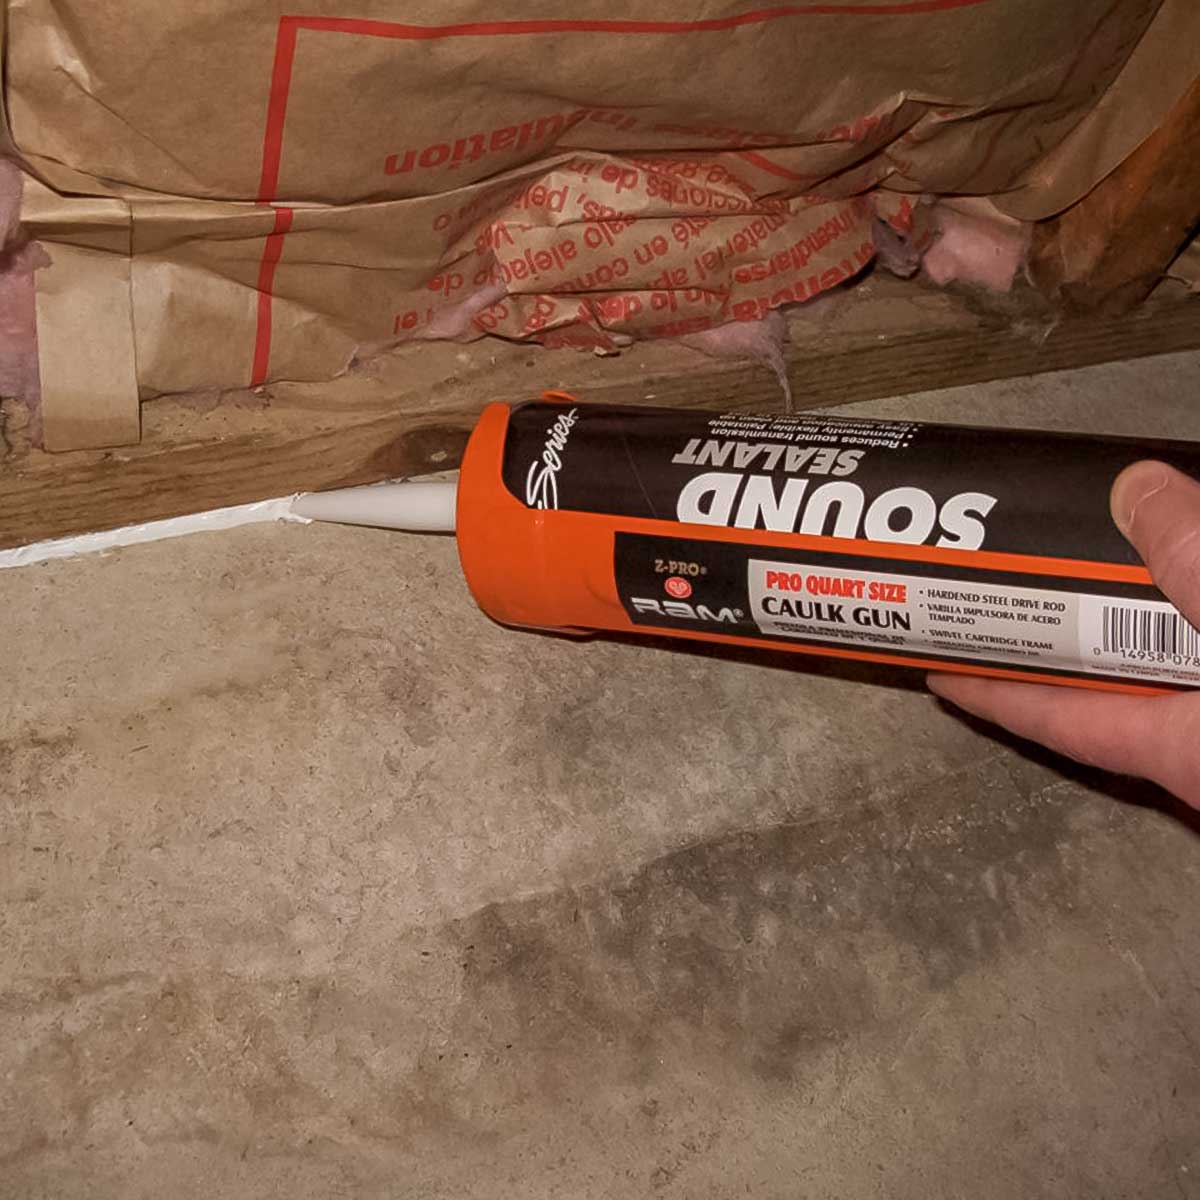
Soundproofing a Garage — Seams and nails caulked with sound sealant.
Soundproofing a Garage — Layer of mass loaded vinyl, double leg resilient hat channel and layer of drywall.
Garage Soundproofing Tips for Specialized Use Cases
For Music Studios
- Use AlphaSorb® Bass Traps in corners to absorb low-frequency sound.
- Cover walls with AlphaSorb® Fabric Wrapped Quick Ship Bass Trap for enhanced sound clarity and reduced echo.
For Workshops
- Surround noisy tools with PrivacyShield® Sound Blankets to isolate sound.
- Add vibration isolation pads under machinery to prevent noise transfer through the floor.
For Gyms or Fitness Areas
- Use rubber flooring and wall-mounted acoustic panels to control impact noise and echo.
- Ensure weights or equipment don’t vibrate against bare walls or floors.
Common Mistakes to Avoid When Soundproofing a Garage
- Ignoring Gaps and Cracks: Even small gaps can undermine your efforts. Use sealants and acoustic caulking for complete coverage.
- Relying on Single Solutions: Combine absorption (acoustic panels) with mass (MLV or drywall) for the best results.
- Seal Around Outlets: If the walls will have electrical outlets and switches, now would be a good time to seal the gang boxes with something like putty pads.
- Overlooking the Garage Door: This is one of the biggest weak points for sound leakage.

AudioSeal® Mass Loaded Vinyl Sound Barrier

Acoustical Caulk
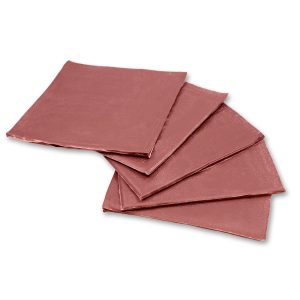
Firestop Acoustical Putty Pad (Single Gang)
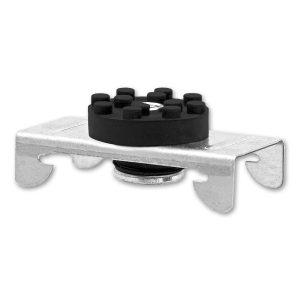
Resilient Sound Isolation Clip RSIC-1
Green Glue Noiseproofing Compound
FAQs About Garage Soundproofing
1. Can I completely soundproof my garage?
While you can significantly reduce noise transmission, achieving complete soundproofing may require professional construction modifications.
2. What’s the best material for soundproofing a garage?
For blocking sound, Mass Loaded Vinyl (MLV) is highly effective. For absorption, AlphaSorb® Acoustic Panels and PrivacyShield® Sound Blankets are excellent choices.
3. Is soundproofing a garage expensive?
It depends on the size of your garage and the materials used. DIY solutions like sound blankets and acoustic panels can be budget-friendly compared to full-scale renovations.
Create a Quieter Garage with Acoustical Solutions
Soundproofing your garage doesn’t have to be complicated. With the right materials and techniques, you can create a space that suits your needs—whether it’s for music, work, or relaxation. At Acoustical Solutions, we offer industry-leading products designed to make soundproofing easy and effective.
Ready to get started? Explore our full range of soundproofing materials or contact us for personalized recommendations.
To learn more about how Acoustical Solutions can solve your noise control problems, use our contact form, call one of our Acoustical Sales Consultants at (800) 782-5742, or visit us on the web at acousticalsolutions.com.
Thank you! We are opening a coworking space and want our conference rooms “sound-blocked” but also want to create a podcast booth for recording. I learned so much from you!