Problem:
Sound Or Noise Is Either Entering Or Leaving My Room.
Solution:
Decouple & Strengthen The Structure To Prevent Sound Leakage.
Soundproofing is a powerful tool to make any space more peaceful so that the activity within can be uninterrupted. For most all sounds, their main access point to a space is through the walls, so walls are typically our primary focus when it comes to soundproofing.
In this article, I will describe the concept of soundproofing and how we take this understanding and apply it through acoustic materials to walls to dramatically reduce if not outright eliminate sound transmission.
Understanding Soundproofing
Soundproofing is one of the two core concepts in acoustics, alongside sound absorption. While they sound similar, they are in fact distinct and I like to make sure my customers know the difference.
In short:
Soundproofing, also known as sound blocking, blocks sound from transmission between materials, such as a wall.
Sound absorption, also known as sound control, utilizes materials to remove unwanted aspects of sound in a space and make it sound better.
Now that the distinction is clear, let’s focus on soundproofing and how we apply this concept to walls. I prefer to use the term sound blocking because I think it makes it very clear what we’re trying to achieve. To be even more clear, I liken soundproofing to blocking an arrow with a shield. If the shield is a t-shirt, that isn’t going to block anything! The arrow will pass right through. If your shield is made of wood, however, the arrowhead might make it through, but the shield will stop most of it. If the shield is made of concrete (and you can lift it!) that arrow isn’t penetrating at all.
This is exactly how soundproofing works. If we want to stop sound from penetrating a wall, then we need to add mass to create a shield dense enough to block it.
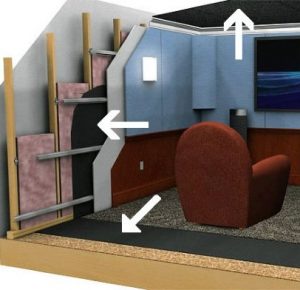
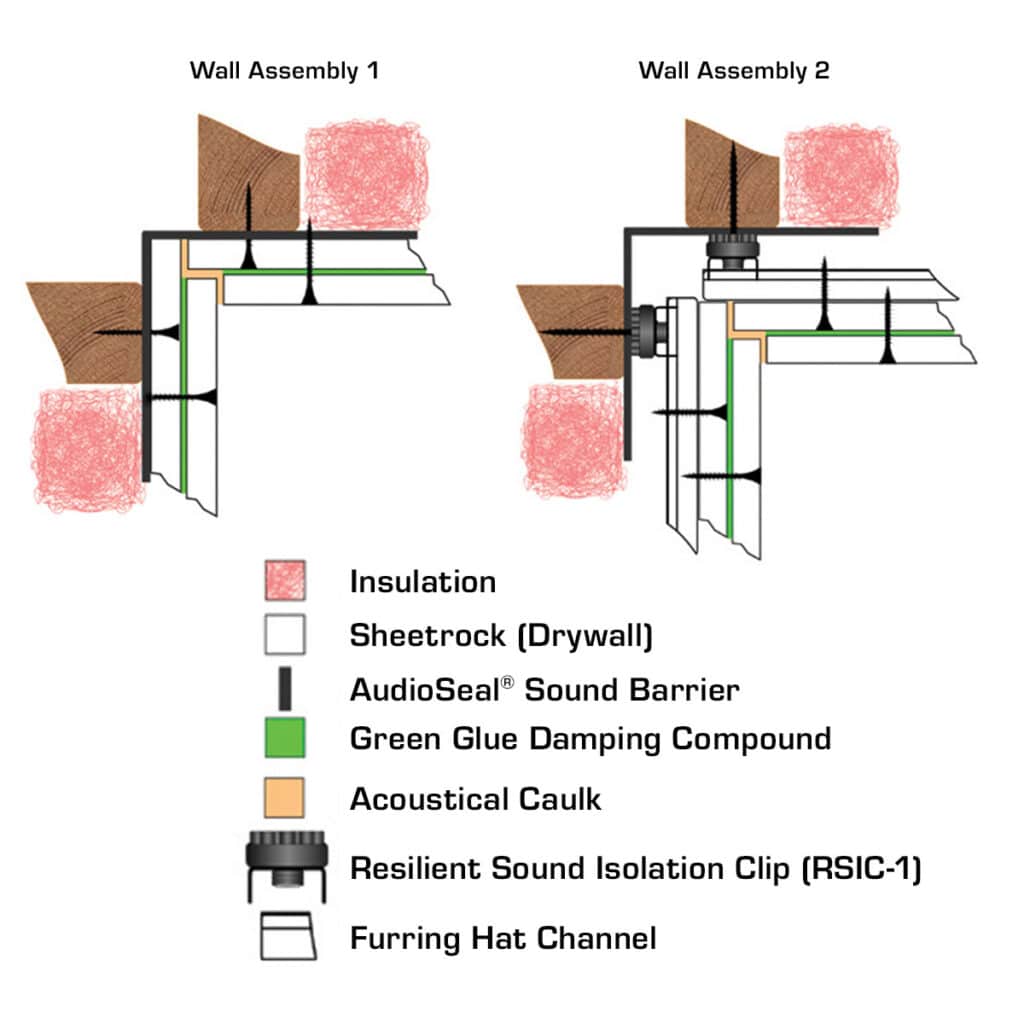
Blocking sound requires the complete area to be reinforced or a sealed enclosure around the sound source, as it takes a system of materials to construct a soundproof wall.
Utilizing Acoustical Materials in Wall Assemblies for Effective Soundproofing
As we consider soundproofing a wall, it’s important to understand what is meant by a wall assembly. Thankfully, it’s straightforward: an assembly is a collection of components that make up a wall. Standard wall assemblies are typically either wood or metal studs with insulation between and drywall attached. This assembly isn’t great at soundproofing, as sound easily transmits through insulation and drywall. The answer then is to add additional components to the assembly so that the energy of sound waves are absorbed before it can make it through to the other side of the wall.
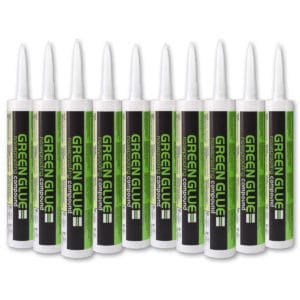
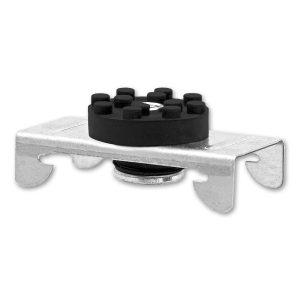
My go-to wall soundproofing assembly is to add AudioSeal® Mass Loaded Vinyl (MLV) Soundproofing Barrier, Green Glue Noiseproofing Compound, and RSIC Clips to standard studs and drywall. Let’s take a look at each component and see how they work.
1. Mass Loaded Vinyl Soundproofing Barrier
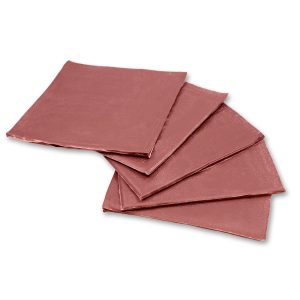
The importance of mass loaded vinyl is in its name: the introduction of mass to the wall assembly. MLV is as heavy as lead, weighing in at 1 pound per square foot at only 1/8″ thick, meaning its addition will not significantly reduce room size. The MLV barrier is either tacked or nailed to existing studs, or glued in between layers of sheetrock. If installing over existing sheetrock, you can glue the barrier using a vinyl construction adhesive. Large head roofing nails at the top will help suspend the weight of the sound barrier while the adhesive dries. You can see how to install sound barrier in this video.
The addition of MLV improves the STC value of the complete assembly. When installing MLV, verify that the stud cavities are properly filled with fluffy insulation as this helps prevent resonance and ringing in the open cavities, also improving STC value. The AudioSeal® Mass Loaded Vinyl (MLV) Soundproofing Barrier is available in rolls typically 54″ wide x 30′ long and can be easily cut with a utility knife.
2. Isolation Clips With Double Leg Hat Track
While mass is an important aspect of soundproofing, so is the concept of decoupling. Decoupling materials in an assembly helps limit the transmission of sound vibrations. In combination with AudioSeal® Mass Loaded Vinyl Sound Barrier, adding resilient isolation clips will decouple walls to break the physical transmission of sound between structural components. The RSIC-1 stops the noise and vibrations that typically transfer through the structure. This will “float” your walls or ceilings, creating an air gap. These are used in conjunction with a double-leg hat track (resilient channel) that can be purchased via a local contractor supply. Once complete, drywall can be attached to the channel.
3. Green Glue Between Layers Of Drywall
The third component of a powerful soundproof wall assembly is Green Glue applied between any subsequent layer of drywall. Green Glue provides a viscoelastic sound-damping layer that works like a resilient channel as part of the assembly. When installing the multiple layers of drywall, vary drywall substrate thickness and alternate your seams. This helps create a ‘tortured path’ for the sound. Allow Green Glue 30 days of drying time for optimal sound isolation performance with a minimum of 7 to 10 days of drying time before sound isolation will start to improve.
Be Sure To Seal Up Any and All Air Gaps in the Wall Assembly
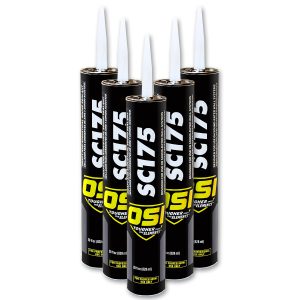
Soundwaves are tricky and even the smallest hole can allow a significant percentage of sound to enter. Think about sound in a similar fashion to water: if air or water can pass through the assembly, so can sound! Be sure to seal up any seams or gaps. Firestop Putty pads work great to seal up single or double gang electrical boxes, as seen here in this installation video. Acoustical caulk can be used to seal seams or gaps in the sound barrier. Likewise, you can caulk around electrical boxes.
HVAC vents can also be an open carrier for sound. If you cannot separate the ducting, the interior can be lined with flat acoustic foam. Plenum Return Silencers can also be used to direct and muffle the sound.
Ceiling Assembly Example
Blocking sound in a ceiling assembly follows the same principles as wall construction. Below is an example of a ceiling assembly using insulation, AudioSeal® Mass Loaded Vinyl Soundproofing Barrier, Resilient Isolation Clips, Green Glue, and multiple layers of sheetrock or drywall.
What About Floors?
Although the concept of soundproofing flooring is very similar to walls and ceilings, different materials are used as impacts are the main source of obtrusive noise that we want to block. Using Iso-step® Soundproofing Underlayment on the floor above provides an impact-resistant layer underneath the flooring. This will help prevent footfall noise and airborne sound from transmitting through the structure. To read more about using Iso-Step® Soundproofing Underlayment, read this post on using Iso-step® Soundproofing Underlayment to reduce Impact Noise.
If you want more information on how to soundproof and block sound, you may want to read these articles on Soundproofing a Garage, a Floor, a Window, a Door, Industrial Noise, and Soundproofing for Speech Privacy.
Achieve a Powerful Soundproof Wall Assembly with Acoustical Solutions
At Acoustic Solutions, our business is to find the best acoustic products and techniques to help our customers achieve the best results possible for their project. To learn more about soundproofing walls, the best modern materials to craft an assembly with, and specific ways to apply them to your unique situation, give me a call today!
To learn more about how Acoustical Solutions can solve your noise control problems, use our contact form, call one of our Acoustical Sales Consultants at (800) 782-5742, or visit us on the web at acousticalsolutions.com.

