Introduction
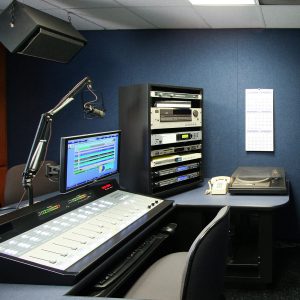
WCVE Public Radio treated their production studios with a combination of absorption and sound blocking for a complete solution
Studio acoustics is probably one of the most complicated subjects for any article covering acoustics. The reason for this is that there are so many different points to consider, such as:
- Room size and shape
- Need for sound isolation
- Dual purpose rooms requiring variable acoustics
- Personal preferences
- Budget constraints
And on and on it goes.
The simple fact of the matter is that it’s so in-depth that really no one, unless you have a supercomputer at the ready, is going to be able to predict EVERYTHING that is going to happen in your room acoustically. Fortunately, the real world is the best supercomputer simulator there is… because it’s the real world. What I’m saying is, the best way to find out what is going to happen is to just try it and see what happens. That can get expensive though, especially when things don’t do what you want them to do. This fact alone is what leads to what is known as “Analysis Paralysis”. People go out on the net and try to figure out what all they need and go to the nth degree trying to nail it all down on the first get-go, and then find so many things and options to choose from that they no longer can differentiate between what is necessary and what is fluff.
What do you Want to do with a Studio Space?
On the other hand, I get a lot of calls from prospective customers who simply say, “I want a studio, how much?” Well that’s going too far in the opposite direction. It’s like saying, “I want a house, how much?” It could be 5 thousand, it could be 5 million. What all is the house going to have?
This subject really needs to be approached in steps – in layers, if you will, zeroing down into what is ideal for you. The first thing to ask is, “What do I want to do with this space?” This is going to govern everything. If possible, you want to have a room for live recording, and another separate room to do post-production. The studio acoustics of these rooms will have vastly different attributes to consider. Combining them always muddies the situation but can, to a point, be achieved successfully. For now, I’m going to describe the two rooms separately, and then show a few tricks to combine them into one if needed.
Live Room
This is the room that has all the sound happening in it, from acoustical instruments to vocalists, to whatever. Ideally, you want to have this room as isolated from outside sound intrusions as possible. That, in itself, warrants an entire article that I typed up previously, see here: How to Soundproof (Sound Blocking). Treating the acoustics within the room primarily rests on the shape of the room itself. If you are building this from scratch, a great thing to do is to make sure none of the walls are offset 90 degrees from each other. Don’t tell this to a builder…things must be plumb! Not in this case. We want to minimize the ability for sound to bounce back and forth between opposing surfaces giving a flutter echo.
You ever have two mirrors aimed at each other and seen an infinite reflection of yourself? It’s pretty cool, right? Not in acoustics it’s not. Walls reflect sound like mirrors reflect light. Offset your walls as much as possible. Another aspect is to make sure the length, width, and height of the room are not all multiples of each other — that’s a great way to mess up the modes of the room, which is another huge discussion in itself. Suffice it to say, don’t do it. If you are retrofitting a room, then you don’t need to re-engineer your walls, but you are either going to want to deaden them out completely or make them diffusive.
Production / Recording Room
This is the room you will be listening to the music in. You need to hear what it’s going to sound like in any given room and through a real set of speakers. Diffusion is the word of the day here. Diffusion on the rear wall behind the seated technician, and potentially diffusion on the ceiling above the seated position as well. Then absorption around the console, here is where you just have to try it and see what you get. I recommend any flat surface greater than 6″ x 6″ gets 2″ to 3″ thick foam on it, but the easiest thing to do is to just have a knife and some extra foam sitting under your desk and just play with it as time goes by. The photo on the right/below shows how we improved the studio acoustics for a home in Michigan. Note there are diffusers above the seat and absorptive wood-framed panels around the console.
Deadening Out a Live Room

Food Network’s Ace of Cakes host Duff Goldman in the completed man cave, as seen on DIY Network’s Man Caves.
This is heresy to most studio people. While yes, it sounds atrocious to artists in there playing, we are in fact living in the age of the computer and all kinds of high-resolution effects can be added in post-production to get back all the ‘liveness’ of the room you could ever want. Feed it through a filter and then pipe it back out to your artist in some cans (headphones). The benefit here is you get a truly clear track. It’s a clean slate to do what you will with it. It’s by far the easiest way to do this and can be accomplished with 3” thick acoustical foam and thicker just covering the walls and ceiling 100%. To the right/below, is a photo of a studio we did for the show Man Caves, where acoustic foam is completely covering the walls.
Get Diffusers
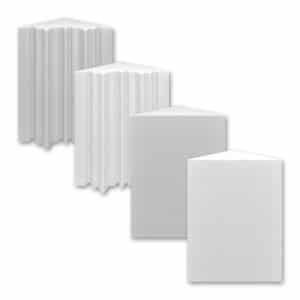
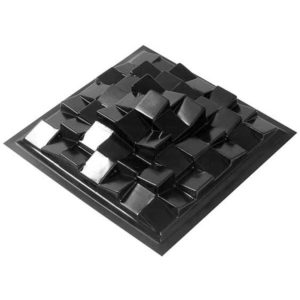
Diffusers cost generally twice as much per square foot as absorptive panels. But, absorptive panels make the room sound deader, whereas diffusers make the room sound better. That’s really the only way to describe it. Large diffusers like Pyramid and Barrel diffusers aren’t that great for small rooms, they are more for large band rooms. Studios should be looking for more “resolution” in their diffusers, or many small facets in each diffuser. The more of them you get, the better the room sounds. That’s pretty much the long and short of it.
There is a way to use absorption to achieve diffusion, though. If you could see sound, it would look like a partial bubble expanding out from a speaker, then running into a wall, and reflecting off looking just like it did coming in, still expanding in 3D space like it was before. Now, if you placed a striped pattern, or checkerboard pattern of absorption on your wall with even reveals of bare drywall between them, what happens is the bubble from the speaker gets broken up, and each one of the reveals begins its own new bubble of sound. Remember, the more diffusion you add, the better your studio acoustics. It stands to reason if you are on a budget, this is the plan you want to take. You don’t have to cover the walls 100%, you are using the cheaper of the two materials between diffusers and absorption, but you are turning your entire wall surface into a diffuser. It’s the best of both worlds. The illustration to the right shows what happens to sound from a speaker when it runs into a wall with a ‘scatter block’ pattern made with absorptive panels.
Bass Traps
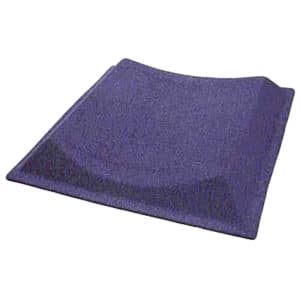
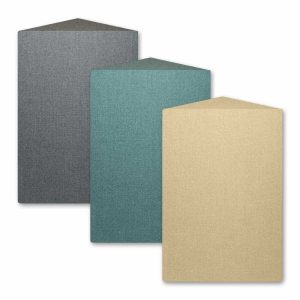
These stop a warbling sound in your bass tracks which come from large sound waves being reflected at each other at 90-degree angles where walls meet other walls and ceilings. Just off the bat, get some bass traps for each of the tri-corners. These are the spots where two walls meet up at the ceiling. If you need more bass traps coming down the walls, then you can get those later.
Sound Enclosures
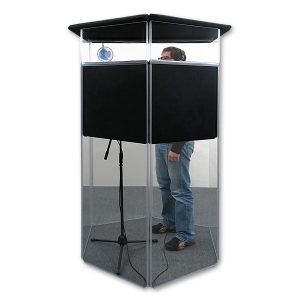
Many people will need to combine these rooms together into the same room, which is fine, but there will be a slight compromise in the studio acoustics of both rooms. For separation of vocals and instruments, you will want a dedicated voice-over booth in a corner somewhere. You can purchase one made by ClearSonic and distributed by Acoustical Solutions. Or you can build one with studs and sheetrock, the key though is to make it as dead as possible. 360-degree absorption will offer the best sound.
Sound Enclosures
Amp Enclosures
Drum Enclosures
Summary
Hopefully this article has put things in perspective for you. True there is a lot left open-ended here, but my desire was to establish a sense of pragmatism in the minds of those looking to learn more about studio acoustics. It’s like a lot of things, it’s as difficult or as easy as you want to make it.
To learn more about how Acoustical Solutions can solve your noise control problems, use our contact form, call one of our Acoustical Sales Consultants at (800) 782-5742, or visit us on the web at acousticalsolutions.com.


